Ready to get salon results at home? This buyer’s guide helps beginners and budget shoppers choose the right kit, lamp, and products to create a long-lasting, glossy finish.
The step-by-step plan covers how UV and LED systems cure layers to form a durable, chip-resistant coat that can stay flawless for weeks with proper prep. You’ll learn about lamp options, essential coats, shade choice, and safe removal methods like using cuticle oil and a wooden stick for semi-cured wraps.
Expect practical tips on thin layering, quick curing times, and how to avoid common mistakes. We also compare starter kit value and price so you can find a complete set or useful add-ons without overspending.
By the end, you’ll know which kit to buy and how to follow each step for smooth, evenly sealed results at home with minimal trial and error.
Key Takeaways
- UV/LED curing gives a durable, glossy finish that outlasts standard polish.
- Proper prep and thin layers are essential for salon-quality results.
- Starter kits and lamps vary in price; compare what’s included to find value.
- Semi-cured wraps wear 10–14 days and remove easily with cuticle oil and a stick.
- Follow manufacturer directions for safe curing and consistent finish.
UV Gel Nails
Light-cured color systems form a hard, flexible coating that keeps manicures looking fresh far longer than ordinary polish.
Gel is a light-cured system made from polymers and reactive monomers. When cured, these molecules cross-link into a strong film that bonds to the nail plate. This structure resists chips and maintains a glass-like glossy finish for weeks with good prep and thin layers.
LED vs lamp curing in seconds for a glossy finish
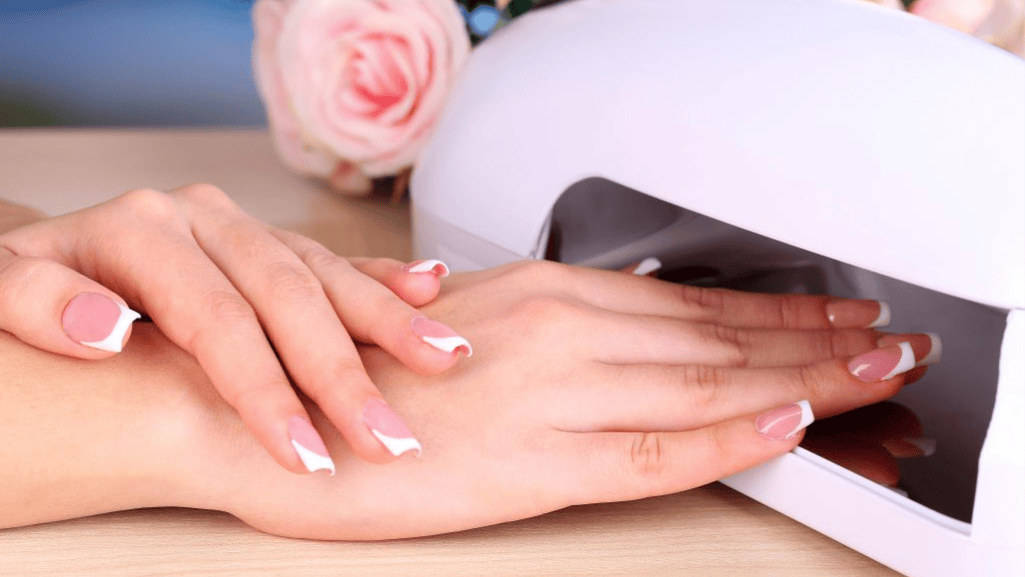
Both lamp types emit wavelengths that harden layers in seconds. Typical cure times run about 30–60 seconds for base coats and 60–120 seconds for color and top coats, depending on lamp power and formula. LED often cures faster for compatible formulas, while some lamps work more universally across older systems.
- Apply multiple thin coats to avoid wrinkling or under-curing.
- Ensure even exposure and avoid shadows; cure thumbs separately if needed.
- Consider lamp size and ergonomics for comfortable at-home use and better results.
Bottom line: a light-cured system is an upfront price that pays off with durable wear, fewer touch-ups, and a long-lasting glossy finish that elevates everyday manicures.
UV Nail Gel vs Regular Nail Polish: What Buyers Should Know
Durability and shine often decide which system suits your routine. The two methods use different chemistry, so they differ in wear time, gloss, and upkeep.
Durability, chip-resistance, and shine
Cured color systems bond during hardening, which cuts down chipping and keeps the finish bright for weeks.
By contrast, traditional nail polish dries by solvent evaporation and can dull or chip within days under normal use.
Formulas and how curing creates a stronger bond
Cured products rely on polymers and reactive monomers that form a cohesive film when activated. Regular polish forms a film as solvents evaporate, which is more fragile.
“Cured systems create a chemical bond that outlasts air-dried polish.”
- Performance: cured layers often last several weeks with minimal touch-ups.
- Maintenance: fewer reapplications lower the long-term price and time spent.
- Removal: soak-off or wrap removal is needed for cured systems; regular remover works for standard polish.
To compare value, calculate unit price per mL or price per bottle and include lamp cost when evaluating a starter set. For a quick comparison guide, see gel vs regular polish and a practical how-to overview at guide to gel manicures.
Types of Gel: Hard Gel, Soft Gel, and Soak-Off Options
Your choice between rigid extensions, flexible overlays, or quick-wrap options changes prep, wear time, and aftercare.
Hard builder for strength and extensions
Hard builder systems create a rigid architecture ideal for length and extra strength.
They are applied in layers, cured, then filed to shape. This approach resists breaks but often needs more filing for removal.
Soft soak-off overlays for easy color changes
Soft, soak-off formulas sit over the natural nail and give flexible protection.
They remove with acetone so color swaps are simpler at home. Use thin coats to avoid bulk and ensure proper curing for a smooth finish.
Semi-cured wraps: fast application, reliable wear
Semi-cured wraps adhere quickly and usually last about 10–14 days with minimal tools.
They can be lifted with cuticle oil and a wooden stick and are a good value for quick updates without harsh solvents.
“Choose hard for length, soft for routine color changes, or wraps for speed.”
- Consider price vs. purpose when buying a set.
- Starter pathway: begin with a soft gel polish kit, then move to builder systems.
- Maintenance tip: keep coats thin and cure fully for the best finish.
How to Choose a UV Gel Starter Kit or All-in-One Set
Start with a balanced set so the lamp, coats, and shades work together for reliable, long-lasting color. A smart kit reduces guesswork and helps you get consistent results in a few sessions.
Pick the right lamp first
Evaluate wattage and interior space. Prioritize a lamp with steady output and enough room for a full hand to fit comfortably under the led lamp; this improves cure efficiency and comfort home use.
Compare cure claims, but remember real-world times depend on the gel polish formula and how you position your hand.
Check base coat and top coat quality
Choose a high-adhesion base coat to prevent lifting and a durable top coat to lock in shine and resist scratches.
Better coats often cost more up front but lower the price per manicure by extending wear.
Shades, glitter, and tools
Select a set with versatile shades plus one or two glitter accents for variety without extra buys.
Confirm included tools: a wooden cuticle stick, alcohol wipes, buffers, and files make prep and cleanup easy.
- Compare regular price and unit price to see true value.
- Check shipping thresholds (free delivery over $35) and return policies.
- Pick brands with clear instructions and replacement parts for long-term use.
Step-by-Step: Apply Gel Polish at Home for Salon Results
Follow a clear sequence—prep, thin layers, cure, and seal—to get consistent salon-grade results at home.
Nail prep: Start by cleansing each nail with alcohol to remove oils and residue. Gently push back cuticles and lightly buff the surface to create a microtexture for better adhesion.
Avoid touching the nail after cleaning. If needed, dehydrate the plate and keep the skin free of oils so the base coat bonds correctly.
Thin coats matter
Apply a thin base coat, avoiding the skin and sidewalls. Cure the base under the lamp for about 30–60 seconds depending on lamp power.
Paint two to three thin color coats, capping the free edge each time to seal the finish and reduce tip wear. Cure each layer for 60–120 seconds under an led lamp per the manufacturer’s guidance.
Top coat and final tips
Use a thin, self-leveling top coat and cure fully to lock in shine and durability. If your product leaves a tacky layer, wipe with alcohol after the final cure to remove inhibition residue and reveal a glassy finish.
- Keep a steady hand and minimal product on the brush to avoid pooling near the cuticle.
- Cure thumbs separately and keep nails parallel to the light source for even exposure.
- Apply cuticle care after the manicure, not before, to avoid introducing oils that harm adhesion.
“Thin layers, clean prep, and correct seconds under a quality lamp are the core of reliable at‑home results.”
Removal, Aftercare, and Cuticle Oil Tips
A careful removal plan protects the nail plate and speeds recovery after a wear cycle. Follow safe steps whether you use a soak-off system or semi-cured wraps to avoid thinning or splitting the natural nail.
Soak-off acetone wraps: Lightly file the top coat to break the seal. Saturate lint-free pads with acetone, wrap each finger in foil, and wait until the product lifts. Gently nudge the softened layer away—do not force it.
Soak-off gel: acetone wraps and safe removal
- Step 1: Thin the surface with a file to help acetone penetrate.
- Step 2: Wrap pads soaked in acetone for the recommended time; check one nail first.
- Step 3: If resistant, rewrap and allow more time instead of scraping.
Semi-cured wraps: apply cuticle oil and lift with wooden stick
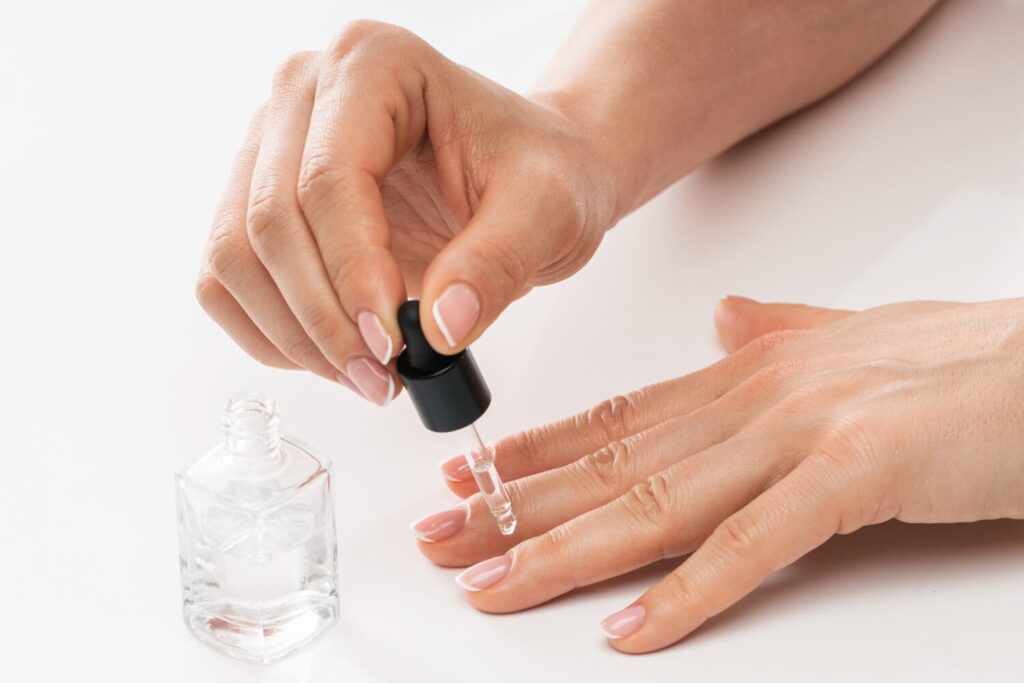
Semi-cured wraps can be easily removed without harsh chemicals. Apply cuticle oil along the edge, wait a few minutes, then lift gently with a wooden cuticle stick.
Typical wear is about 10–14 days, so this method suits quick trips or events where easy removal matters.
Rehydrate nails and skin: apply cuticle oil post-removal
After removal, cleanse residue with alcohol, rinse, and dry. Then generously apply cuticle oil and massage into the cuticles, sidewalls, and surrounding skin to replenish lost moisture.
“Patience during removal protects the natural nail—if you meet resistance, give the product more time.”
- Keep a short break between applications when possible and maintain nails with light buffing and oil.
- Plan removal supplies (foil, pads, acetone, cuticle oil) when budgeting total price and convenience.
- Nightly care: apply cuticle oil before bed, use hand cream, and wear gloves for chores.
For more styling ideas and ways to get a similar finish without extra tools, see our guide on how to achieve a gel effect with nail.
Design Ideas and Finishes to Try at Home
Try statement-making finishes at home by mixing simple techniques with a small palette of coordinated shades.
French tips, ombre, and marble effects
Offer a modern French by using a sheer base and crisp colored tips. Keep layers thin and use a fine brush for clean lines.
Create ombre fades by blending a light, mid, and deep shade with a sponge or small brush. Flash-cure between passes to hold the gradient without adding bulk.
For marble, swirl complementary polish hues on a tacky layer, then float a clear coat to smooth the design before the final cure.
Negative space, glitter accents, and fall palettes
Embrace negative space with geometric windows that let the natural nail show through for a minimalist look.
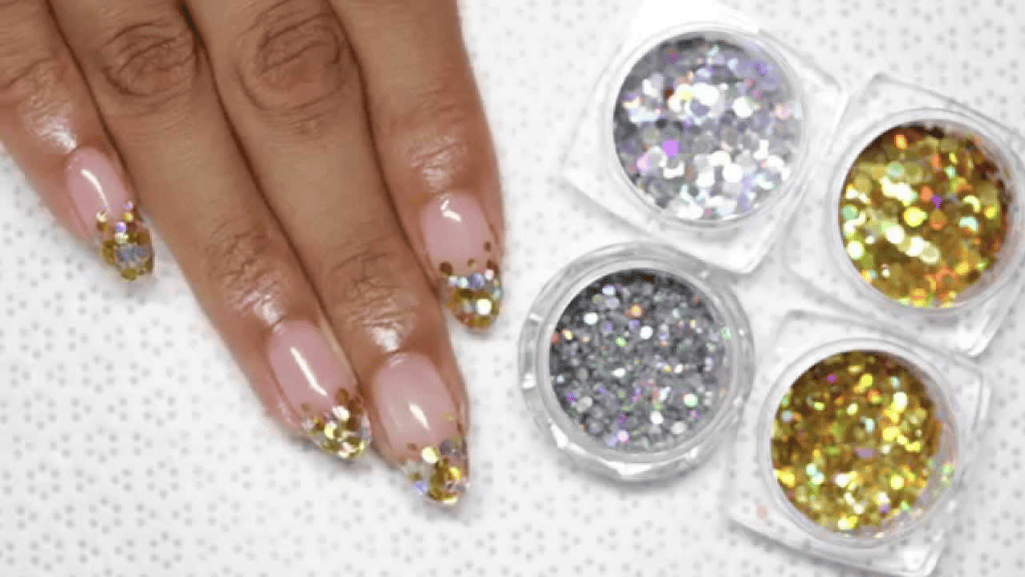
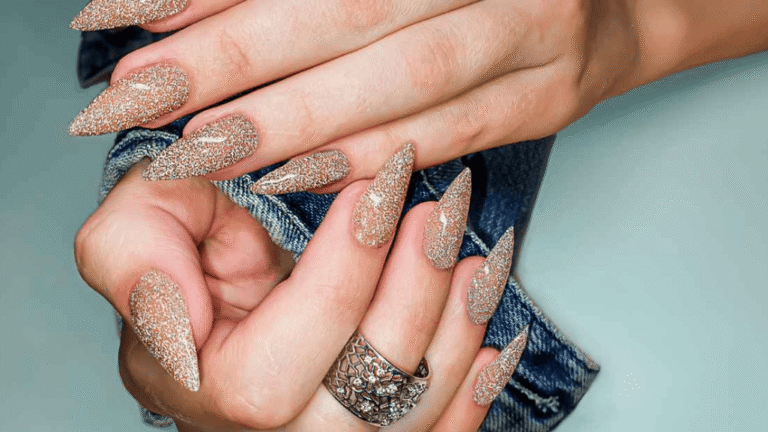
- Use micro-glitter for subtle sparkle or place dense glitter on one or two nails as accents.
- Explore fall gel palettes—burnt orange, olive, and plum—paired with neutral shades for seasonal style.
- Balance texture and shine: opt for a glossy finish to amplify depth or a matte topper for soft, editorial results.
Plan a compact set with three cohesive shades (light, mid, deep) to stretch your kit and lower overall price. Keep tools organized so creative sessions stay quick and fun.
Price, Unit Price, and Value: Getting More for Your Money
To stretch your budget, focus on unit math and what a kit actually includes. Look beyond the sticker to see how many uses each bottle gives you and whether the lamp is reliable.
- Start with regular price vs sale price. Note whether the sale applies to the exact shades and tools you want.
- Calculate the unit price — divide price by milliliters or bottles to get a true price per use.
- Factor in the lamp value: higher wattage often cuts cure time and session length, which saves time.
“A larger bottle or a stronger lamp can lower your long‑term price per application.”
Check what a value-forward set includes: lamp, base/top coats, two to four color bottles, files, wipes, and a wooden stick. Add shipping rules—many retailers offer free delivery over $35 domestically or $45+ worldwide—which can improve the final price.
Final tip: track purchases, note regular price vs sale price paid, and recalculate unit price to learn which brands and kits give the best cost per wear over time.
Conclusion
A reliable at-home manicure starts with focused prep, steady technique, and the right gear to get salon-caliber results. Thin layers, precise cure timing, and a clean surface produce a glossy finish that can last weeks.
Smart shopping matters. Compare regular price to any sale price and always calculate unit price so you know true value. Look for bundles that save money without adding unused items.
Choose a dependable lamp, quality base and top coats, and a small, curated shade set to speed learning and improve results. From hard structure to soft soak-off and semi-cured wraps, pick the system that fits your routine.
Protect the natural nail with gentle removal and nightly oil. Practice these tips to shorten session time and raise consistency, and enjoy more creative, polished results at home.


