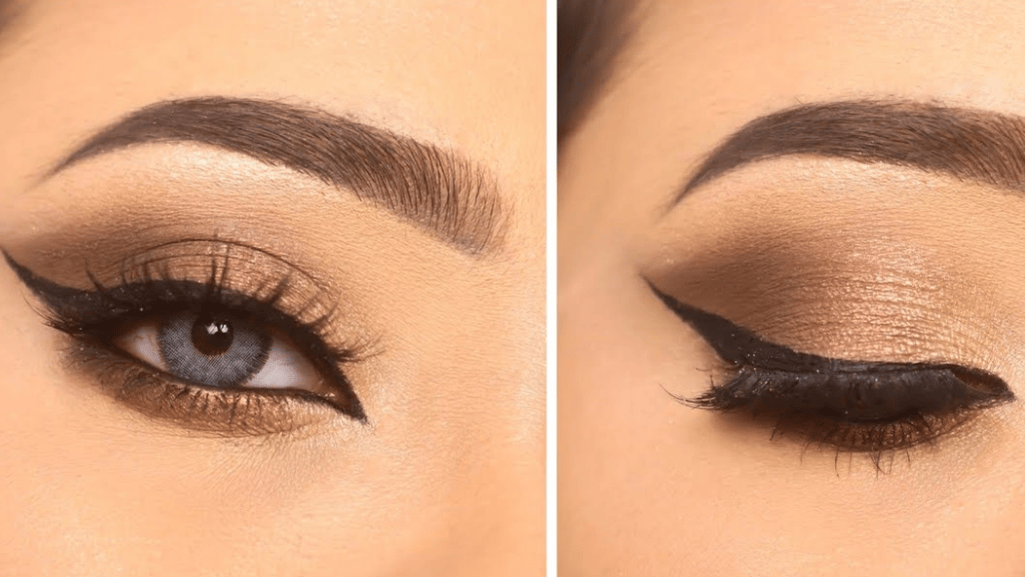
This guide helps you master creative eye work so every look reads polished and camera-ready. You’ll find step-by-step tips for prep, mapping, blending, and finish so both beginners and pros get consistent results.
Start with primer-first application to avoid creasing and extend wear time. Use transition shades and controlled blending to remove harsh lines. Small moves—placing shimmer on the inner corner or using a matte shadow to add depth—change how your eyes lift and reflect light.
Tool choice matters: pick cream formulas for bases, pressed for tidy blending, and loose products for glitter or smoky drama. Learn which brushes create crisp edges and which soften gradients for natural photo-ready looks.
We preview occasion-based routines—bridal, evening, festive—so you can pick the right approach fast. Expect pro tips, common pitfalls, and quick fixes to help your makeup look good with less touch-up and more confidence.
Key Takeaways
- Prime first to prevent crease and boost longevity.
- Use light, medium, and deep tones to build dimension.
- Choose formulas and brushes by purpose: base, blend, or sparkle.
- Place shimmer in the inner corner to brighten the eye.
- Blend with steady pressure for seamless, photo-ready results.
- Follow short, occasion-based steps for fast, repeatable looks.
How to Prep, Map, and Blend for Flawless Eye Makeup
A consistent, even base makes blending simpler and keeps color true all day. Start with a thin layer of eye primer to prevent patching and creasing. Spot-correct any discoloration only where needed, then lightly set with translucent powder for an even canvas.
Prep and base
Apply primer evenly and let it settle for a few seconds. Use a small dab of color-corrector on stubborn tones, then dust translucent powder to stop shadows from grabbing.
Brushes and tools
Choose brushes by purpose: a flat shader to pack pigment, a large fluffy blender for soft edges, a pencil or smudging brush for lower lash line and corner detail, and an angled brush for subtle wings or tightlining.
Blending techniques
Map the eye into three zones—lid, crease, and outer corner. Place light shades on the mobile lid and inner corner, mid-tones in the transition area, and deeper tones in the crease and outer corner to sculpt.
- Load with control: tap off excess, press color where you want depth, then blend gently to keep saturation without muddying.
- Build a gradient: start with a mid-tone above the crease, deepen the outer corner, and add a highlight to the inner corner for lift.
- Motion tips: use light circular strokes for soft focus and windshield-wiper motions through the crease; micro-pat on the lid for payoff.
Troubleshooting: if shadow skips, re-smooth the base; if edges are harsh, reintroduce a transition color; if the lower line looks heavy, soften with a smudging brush. Finish by curling lashes, tightlining if desired, and misting a setting spray to lock the look in place.
Eyeshadow Designs
Seven practical approaches let you tailor a refined finish for any time or event. Below are compact steps and quick tips to shape depth, sheen, and edge so each look reads intentional and photograph-ready.
Smoky eye: diffused depth on upper and lower lash lines
Start with a subtle inner corner highlight, pack a deep matte on the lid, and blend upward into a mid-tone. Smudge a soft shadow along the lower outer corner for a cohesive frame.
Metallic hues: high-shine lids balanced with neutral mattes
Prime, press a metallic onto the lid, then temper it with a neutral matte through the crease. This keeps the finish wearable in daylight without losing impact.
Ombre gradient, cut crease, and cat options
Ombre: lay a light base, add a mid-tone in the crease, then deepen the outer corner and blend seams for a smooth light-to-dark flow.
Cut crease: sweep a warm transition, carve with concealer, set, then apply a lighter lid shade for crisp contrast.
Cat eye shadow: map a wing with matte shadow and refine edges with a damp Q-tip for a softer cat eye alternative.
Graphic eye and soft glam
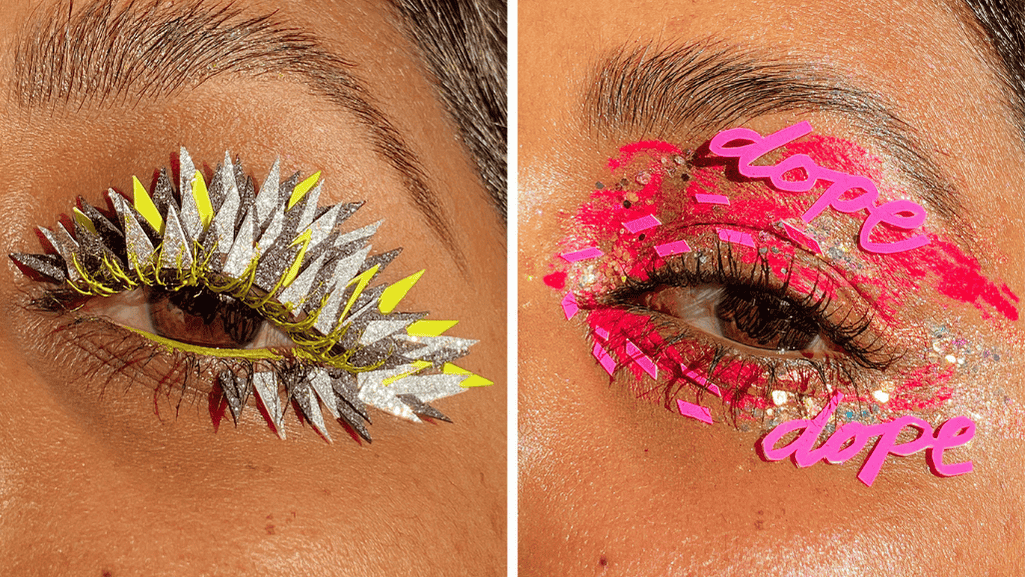
Graphic: use a neutral base, then draw bold lines with a water-activated liner; keep the rest minimal.
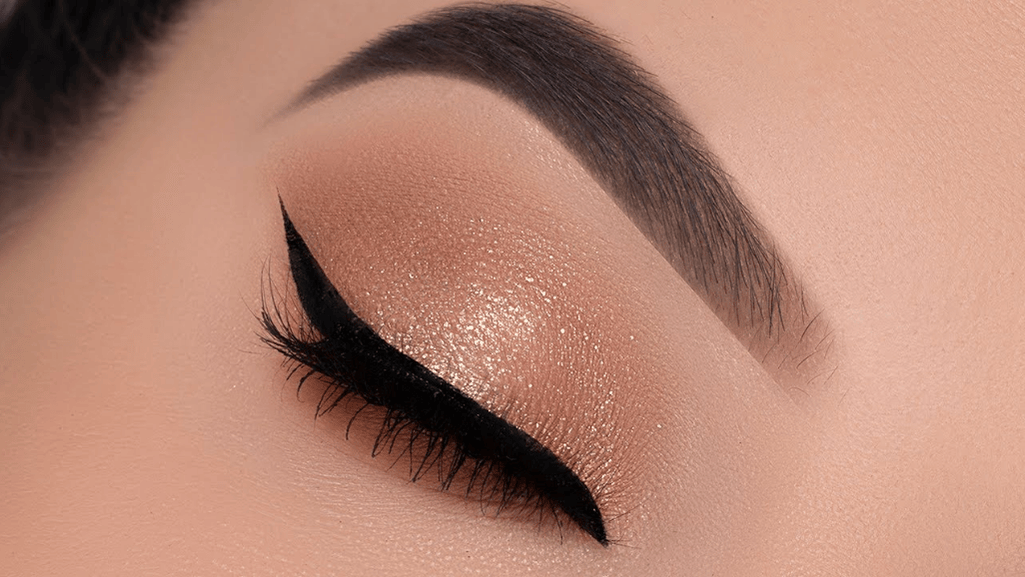
Soft glam: blend neutral mattes, add a pink or champagne shimmer on the lid, and trace a thin liner to define lashes without heavy glitter.
Technique note: balance shimmer with matte and concentrate deeper color at the corner to lift the eye while keeping the center brighter for dimension.
Color-Based Eyeshadow Looks to Match Your Eye Color and Mood
Choose shades that echo your mood and make your eye color sing. Below are easy palettes and placement tips to help you pick a look for daytime or event wear.
Blue statements: sky-to-sea washes and wearable pops
Keep the lid wash sheer and concentrate colour near the lash line or a halo center. Pair the blue with neutral crease tones so the shade reads refined rather than stark.
Brown neutrals: timeless, soft-focus dimension
Build a range of nudes from light to deep. Add a satin lid and a deeper matte in the crease for soft-focus definition that flatters all eyes.
Black intensity
Place the deepest black in the outer V and crease, then smudge edges to avoid harsh lines. Balance with a lighter inner corner so the eye stays dimensional and wearable.
Gold glow
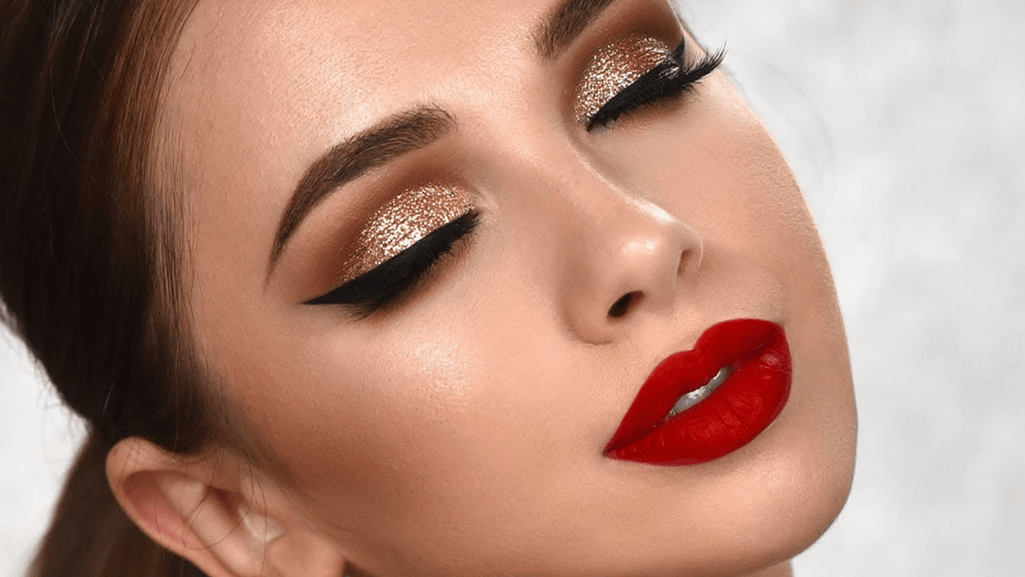
Lay a matte base, then press fine glitter flecks on the center lid for event-ready shine. Keep surrounding zones matte to prevent the finish from looking overly reflective.
Sunshine yellow
Tap a small amount on the inner corner to instantly lift the eye. Soften the edges into your transition shade so the accent looks intentional, not like a spot of color.
Pastel “unicorn” ombre
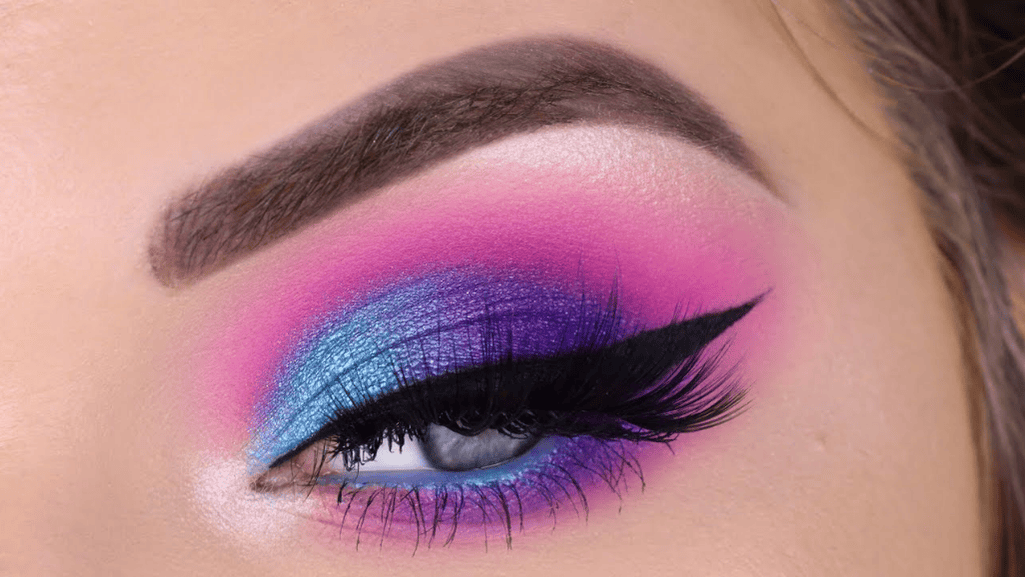
Start with a light teal at the inner corner, blend to lilac across the lid, and finish with deeper purple at the outer corner. Keep blends airy so the gradient stays whimsical and smooth.
- Eye color pairing: lean into complementary shades—purples for green and brown eyes, bronzes and golds for blue eyes.
- Finish smart: use a stable adhesive or setting spritz for glitter, add mascara, and tidy brows to complete each look.
- Placement principle: bright tones near the inner corner open the eye; deeper hues at the outer corner add structure.
For a deeper dive into blue palettes, see our top eye shadow colors for blue to match shade choices to your iris.
Occasion-Based Eye Makeup Looks with Step-by-Step Guides
For special events, plan your eye steps so each move supports long wear and clean lines.
Bridal: primed ombre, cut crease, and wing
Prime the lid and sweep a light shade across the mobile lid. Deepen toward the crease for a soft ombre, then carve a cut crease with concealer for crisp contrast.
Set the carved area, press a brighter lid shade, and finish with a classic winged liner. This combination photographs well and holds up through long hours.
Evening date look: warm neutral wash and inner highlight
Prime, then sweep warm neutrals up to the brow bone for gentle lift. Add a short, soft liner close to the upper lash line to define without heaviness.
Place a subtle inner corner highlight to brighten the gaze and keep the rest of the face slightly softer for balance.
Halloween glam: black-to-orange smoky ombre
Prime and lay a lighter transition in the crease. Pack black on the lid and blend orange into the crease to create a smoky ombre.
Line the upper lash, and add a pinpoint of inner-corner shimmer for a dramatic, festive sparkle.
Festive finishes: nude-to-pink layers, glitter, and falsies
Prime, apply a nude base, then layer deeper pinks under the crease to build romantic depth. Press controlled glitter at the center lid for event-ready sparkle.
Line the lash line and finish with false lashes that match the look’s intensity—wispy for subtle, fuller for evening glam.
- Step discipline: always prime, map light/medium/deep placements, and build in thin layers to reduce fallout.
- Time & symmetry: prep tools first and work eye-by-eye to keep looks even.
- Longevity: set creams lightly, avoid over-powdering, and mist with setting spray for long nights.
- Tip: see bridal inspiration for real examples and application flow: bridal inspiration.
Soft Eyeshadow Looks for Everyday Wear
For easy, everyday wear, favor soft layers that build color without looking heavy. These approaches keep your morning routine quick while delivering a polished finish that suits work or weekend plans.
Everyday neutral with a soft wing
Sweep a mid-tone neutral through the crease and brighten the lid with a light satin. Add a small, softened wing in brown or black to lift the eye without drama.
Soft pinks and peaches
Use sheer, buildable shades for a natural veil of colour. Keep depth minimal at the outer corner and leave the inner corner slightly brighter for a fresh, wide-awake look.
Subtle color pops
Pair baby blue, mossy green, or soft orange on the lid with brown transitions. Blur edges and restrain shimmer so the look stays office-appropriate yet expressive.
Soft gray smoky and brown soft glam
Blend light gray through the crease and add a deeper slate close to the lashes for definition without heaviness.
For brown soft glam, layer matte neutrals, place a touch of shimmer at the center lid, and tightline to enhance eyes without harsh edges.
- Mini cut crease: define the crease lightly and add a half wing with a colored liner that complements your iris.
- Quick routine: two clean brushes (fluffy + flat) and a smudger speed up weekday application.
- Confine glitter or shimmer to the center lid so it catches light without flashing in daylight.
Pro Tips, Formulas, and Common Mistakes to Avoid
A smart formula choice saves time and reduces common mistakes when building an eye look. Use the right product type for the finish you want and the time you have.
Formulas that fit
Cream works as a grippy base or a one-and-done wash. It’s ideal for quick, dewy looks and single-shade application.
Pressed powders are the everyday workhorse. They blend well, make clean gradients, and limit fallout for neat makeup.
Loose pigments and glitters deliver high-impact shimmer or smoky diffusion. Use an adhesive or tacky base to keep glitter in place.
Avoid these pitfalls
Primer matters: skip it and colours fade or crease. Never skip a base if you want long wear.
Match brush to task: fluffy for blending, flat for packing, pencil for smudging, angled for soft wings. Wrong brushes cause patchiness.
- Don’t overload pigment — build slowly and blend between layers.
- Add a mid-tone transition to erase hard edges and lift the outer corner.
- Respect eye shapes; place the crease slightly higher for hooded eyes.
- Limit glitter to the center lid or inner corner with a dedicated adhesive.
- Finish with a light set and setting spray to lock the look in place.
Quick checklist: primer, correct formula, matched brushes, subtle builds, and a final mist. Follow these rules to avoid patchy blends and uneven colour in every case.
Conclusion
Lock in colour with thin layers and a final spritz so your eye makeup moves from morning to night.
Recap the core flow: prime, map light-to-deep placements, blend transitions, and finish with precise edges to make any look last through long hours.
Experiment across a modest range: start with neutrals, add wearable colour washes, then try metallics or a cut crease for events. Keep shimmer controlled and matte structure intact.
Placement wins: a brightened inner corner, a lifted outer corner, and a defined crease open the eye and polish the result.
Keep a small kit (flat, fluffy, smudger), use pressed formulas for quick blending, and troubleshoot by reintroducing a transition or adding a light-reflective touch to revive a dull shadow.
With these steps, you’ll elevate your eye looks and feel confident in every makeup choice.

