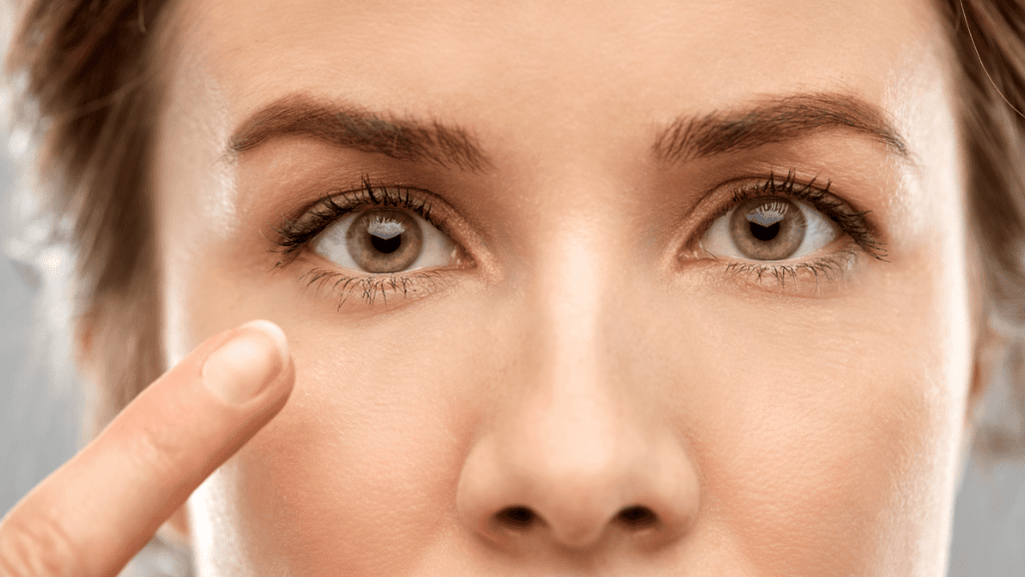
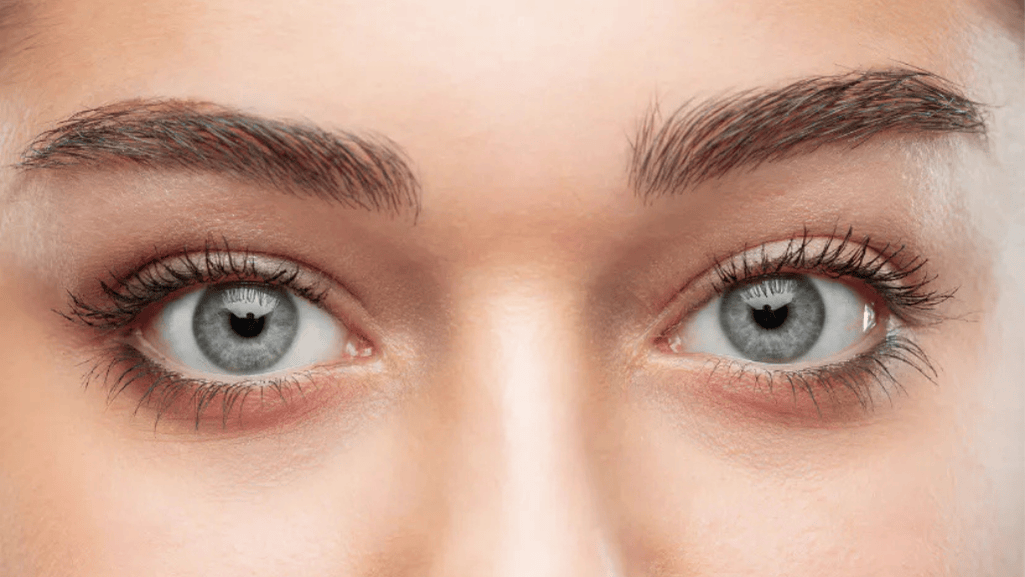
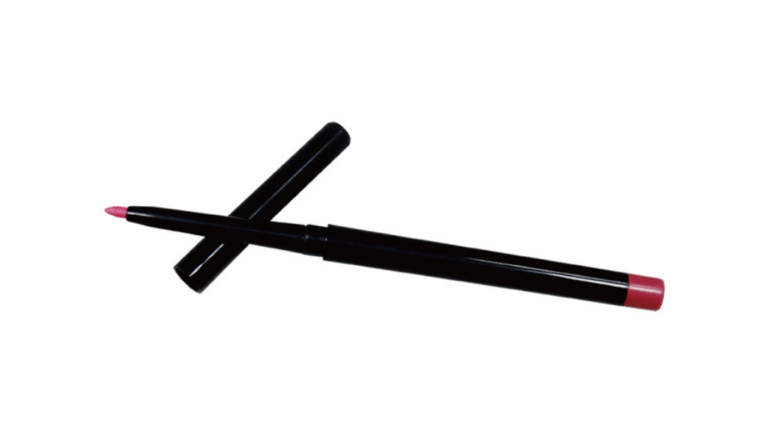
This short guide shows a step-by-step way to map, shape, and finish brows Eyebrow Shape for Hooded Eyes so lids look lifted and more open.
We focus on simple tools you already have—a pencil or brush—and clear measuring points to tailor the look to your face. Small moves at the start, arch, and tail can change how the eye reads.
Understanding eye settings, like close-set or wide-set, helps place mapping lines. That keeps results balanced and flattering without fighting your natural anatomy.
Healthy skin matters, so we include tips to prevent irritation and keep brow density over time. The approach fits daily makeup and special looks alike.
Key Takeaways
- Follow a mapped routine to lift and open the eye area.
- Use small, measurable shifts at start, arch, and tail for big impact.
- Adapt universal lines to your unique facial features.
- Prioritize skin care to protect brow density over time.
- Tools you own are enough—pencil, brush, and patience.
Why brow shape matters for hooded eyes right now
Small shifts in brow lines can make a heavy lid appear lighter and more open. When brows match the way your eyes sit, the whole face reads as more balanced. Mapping depends on whether your eyes are close-set or wide-set.
Choose a structure that highlights your natural features. A gentle arch adds lift without harsh angles. A clean lower line and a lighter tail reduce shadow and prevent the lid from looking heavy in softer light.
Properly set start, arch, and end points help brows frame the eye and the face. This measured approach saves time in your makeup routine and gives a repeatable step that works with natural growth patterns.
- Lift at the arch reduces lid weight without over-arching.
- Balanced start and tail keep symmetrical space across the face.
- Subtle angles brighten the eye with minimal product.
Eye shapes and how they guide your brow game
Spotting your eye silhouette is the first step to a tailored brow routine that flatters your features. Knowing the basic categories helps you decide where to lift, soften, or lengthen the brow so the whole area looks balanced.
Hooded eyes explained and how they differ from almond, round, and monolid
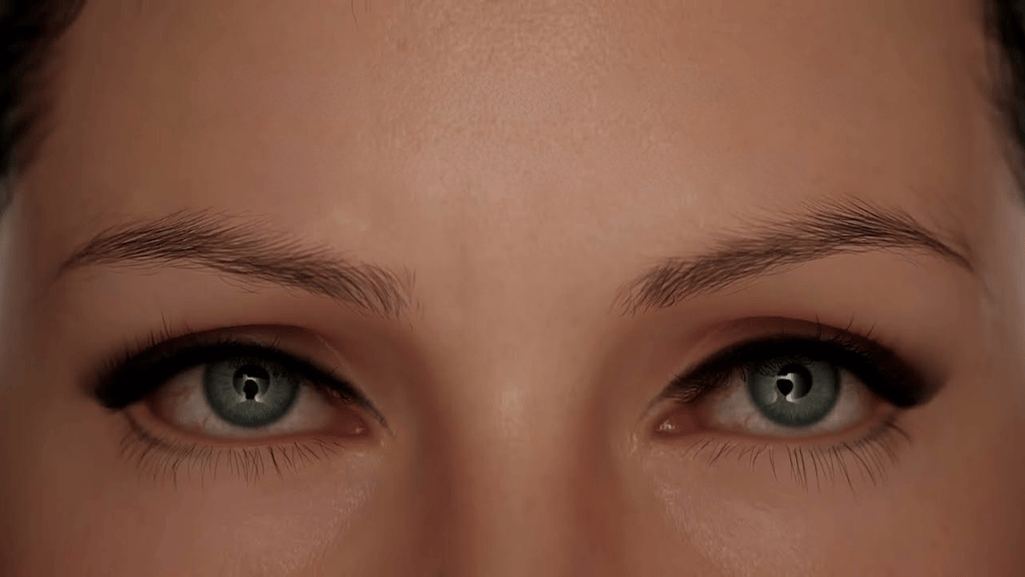
Hooded eyes have extra skin that partly covers the upper lid, so the crease may be hidden and light behaves differently across the lid.
Almond examples show a tapered silhouette. Round types reveal more white around the iris. Monolids often lack a defined crease due to an epicanthic fold.
Quick ways to identify your eye shape
- Mirror check: Look head-on in good light and note the silhouette and lid crease.
- Photo test: Use a printed photo held about three feet away to see proportions clearly.
- Ask a helper: A straight-on view from someone else can reveal differences between one eye and the other.
Also consider upturned or downturned corners and spacing variations like close-set or wide-set. These details change how you map start and tail points so the brows complement your natural features and make eyes appear more open.
Eyebrow Shape for Hooded Eyes: mapping the start, arch, and end
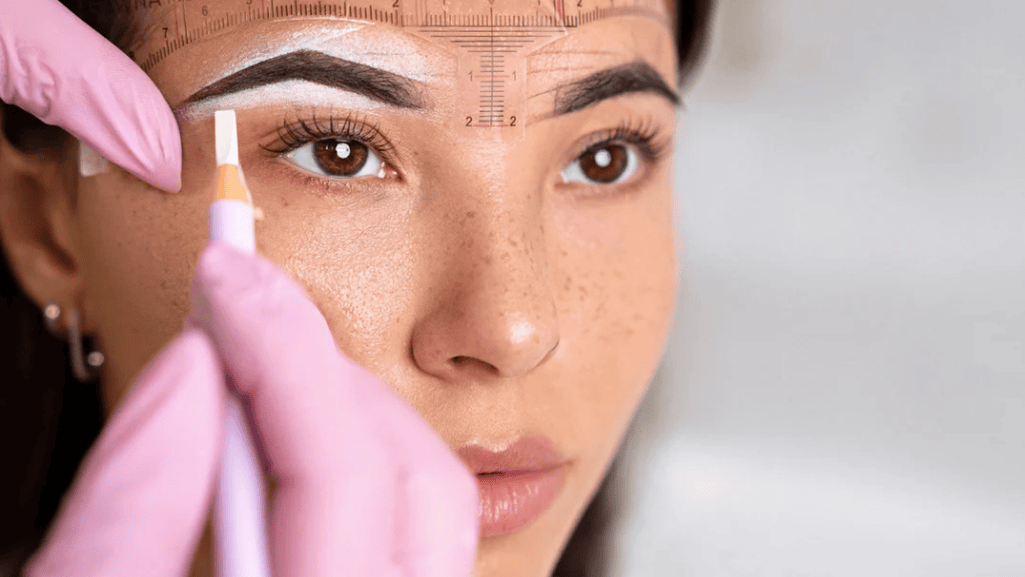
Use simple facial reference points to map start, arch, and end so the result looks natural. Mapping begins with the nostril as your anchor. This lets you set repeatable points that match where the eyes sit on the face.
Starting point: align with the nostril and inner corner for balanced space
Hold a pencil vertically from the nostril to the inner corner. That line marks the starting point and ensures even spacing between the eyes. Keep the base clean and remove only stray hairs outside this line to preserve natural shape.
High point of the arch: lift without over-arching to open the eye
Angle the pencil from the nostril through the pupil to find the high point. Aim for a refined lift that opens the eye without a harsh arch. If your eyes tilt down slightly, place the highest point a touch beyond the pupil.
End point: avoid tails dropping past the outer corner’s 45-degree line
To set the end point, draw the line from the nostril to the outer corner. Stop the tail before it falls past an imagined 45-degree angle. Tails that extend lower can pull the lid down and emphasize the hood.
Tools and lines: pencil, brush, and soft guidelines that flatter your natural shape
Use a light pencil and a fine brush to sketch soft guidelines along the lower edge and top frame. Keep pressure minimal to avoid skin irritation. A clean lower line with a softly diffused top edge keeps the area lifted.
- Confirm symmetry by using the same nostril references on both sides.
- Keep tails airy with a fine tip and crisp edge so they recede visually.
- Revisit mapping every few weeks as small growth shifts perceived balance.
Step-by-step guide to shaping brows for a lifted look
Begin with clean skin and a steady plan. Remove oils and makeup, then brush hairs upward to reveal your natural outline.
Prep skin and brows
Cleanse, brush, and outline. Use a gentle cleanser and a soft brush to lift hairs so the true line is visible. Lightly trace your mapped lower and upper lines with a pencil to mark safe removal boundaries.
Trim and remove carefully
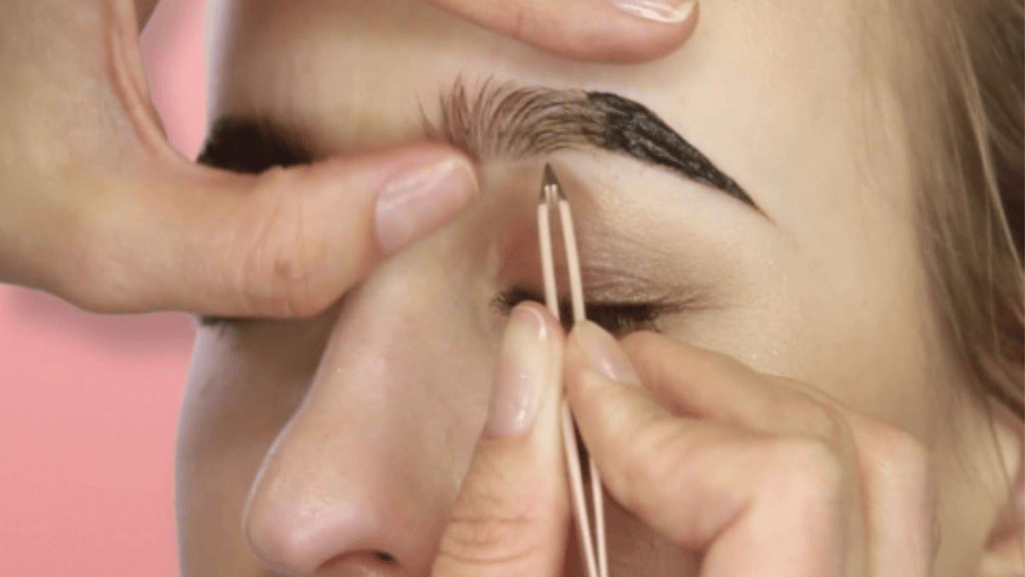
Trim only the longest tips that poke past the outline when brushed up. Remove hairs methodically along the marked line—wax for larger patches, tweezers for precision, or threading for crisp control.
Refine the edge
Keep the base clean and the tail light. A tidy base prevents shadowing and creates lift. Taper the tail to a soft tip so it doesn’t pull the end down.
Final check
Pause often and compare one eye to the other. If you wear makeup, test a quick fill to ensure the mapped line supports your daily routine. Finish with a gentle brush-through so the final line flows naturally from starting point to end.
- Prep: cleanse and brush upward.
- Mark: trace upper and lower lines.
- Trim: remove only long tips.
- Remove: wax, tweeze, or thread along lines.
- Refine: keep base clean and tail light.
Makeup techniques to create the illusion of lift on hooded eyes
Targeted product placement creates the appearance of a lifted eye while staying natural. Use contrast and clean lines to direct attention upward and forward. These small steps help make eyes appear brighter without heavy product.
Fill strategy: deeper shade at the base, softer through the arch and tail
Begin with a soft, deeper fill at the base to anchor the brow and make eyes more defined.
Diffuse color through the arch and tail so the center draws focus and supports a subtle lift.
Highlight placement: under-arch and inner corner to open the eye area
Place a subtle matte highlight under the arch and a tiny touch at the inner corner to create illusion of height and brightness.
Avoid sparkly formulas near texture; a matte tone lifts without emphasizing creases.
Avoid droop: keep the outer edge crisp and slightly upturned
Keep the outer edge crisp and slightly upturned and stop before the mapped end point to prevent a downward pull.
Use precise strokes along the lower line, blend so there’s no harsh demarcation, and set with clear gel for long wear.
- Match tones to the hair’s natural base with a neutral undertone.
- Concentrate definition before the arch if the eye tilts down.
- Let skin show through the tail; avoid over-darkening.
Fine-tuning for face shapes and eye settings
Where the brows begin and end should respond to both eye spacing and overall facial proportions. A targeted tweak at the starting point can open the center of the face. The end or tail must stay controlled so the whole face reads balanced.
Close-set vs. wide-set: adjusting the starting point and tail length
Close-set eyes benefit when the starting point moves a hair outward. That tiny change creates more perceived space without breaking safe mapping lines.
With wide-set eyes, allow a slightly closer start while keeping the tail modest. This keeps the brow and eye area cohesive rather than visually stretched.
Oval and other faces: choosing angles that balance features
On an oval face, moderate arches usually look most harmonious. Avoid extremes that distort proportions even if the eye can handle a bolder line.
Round eyes pair well with a soft angle rather than a fully rounded contour. Downturned eye types gain lift from a gentle upward angle; straight brows can reduce that effect.
“Use the starting point and arch to counter asymmetry—measure, don’t guess.”
- Match decisions to forehead height and cheekbone prominence.
- Keep the end short enough to avoid pulling the eye area down.
- Use measured point checks to balance both sides.
- Reserve bold angles for faces needing definition.
- Confirm results in neutral light at conversational distance.
Common mistakes to avoid and how to maintain your brow shape
Maintenance and small mistakes affect how the eye reads more than a single perfect session. Simple habits keep results consistent and prevent the hood from appearing heavier.
Over-rounding, over-straightening, and tail length
Avoid extreme contouring. Over-rounding or a very straight line can flatten depth and reduce natural lift around the eye.
Do not extend the tail past an imagined 45-degree end point. Long, heavy tails pull attention down and accentuate the hood.
Daily care, tools, and sensible corrections
- Keep a light hand: Resist over-plucking the upper edge; it can create a harsh angle that is hard to match on one eye.
- Brush through daily and tweeze minor stray hairs every 5–7 days to stay on your mapped line.
- Use subtle makeup fills at the tail; dense, dark edges make the eye appear smaller.
- Sanitize tweezers and brush heads to protect skin and prevent bumps along the line.
- If drift occurs, correct incrementally—don’t attempt a full reshape in one session.
- Let sparse areas rest and use light product while hair regrows to preserve long-term density.
“Step back at conversational distance to judge proportion rather than fixing micro-details up close.”
For a quick refresher on common slip-ups, consult a short guide to common eyebrow mistakes before you grab tweezers.
Conclusion
Treat each change as a tiny test: map, tweak, and view at distance before committing. This guide gives a clear step you can repeat so results stay steady.
Use simple alignment—nostril to set the starting point, pupil for the arch, and the outer corner for the end. A light pencil and a fine brush keep the lower line crisp and the base soft so the arch adds lift without harsh angles.
Keep adjustments small to preserve brow density and facial balance. Revisit mapping as hairs grow and check in different light and space. With this process your brows will frame the face, support your makeup, and keep the focus on bright, open eyes.

