Washing makeup sponges is essential for maintaining How to wash makeup sponges a clean and bacteria-free beauty routine. To ensure the longevity of your favorite tools and achieve flawless makeup application, it’s important to know the best practices for washing makeup sponges, including the popular beauty blender. In this ultimate guide, we’ll provide you with expert insights and tips on how to effectively wash makeup sponges to keep them in optimal condition.
Key Takeaways:
- Regularly clean your makeup sponges to prevent the buildup of bacteria.
- Use an oil-free makeup remover or alcohol-based cleaner to remove stains from the sponge.
- Deep clean your makeup sponges every 1-2 weeks to remove stubborn stains and buildup.
- Properly dry and store your makeup sponges to prevent mold and bacterial growth.
- Replace your makeup sponges every 3-6 months to maintain hygiene and prevent skin issues.
The Best Way to Clean Makeup Sponges
When it comes to cleaning makeup sponges, it’s important to choose the method that works best for you. Here are some tried and tested techniques to effectively clean and sanitize your beauty sponge.
1. how to wash makeup sponges
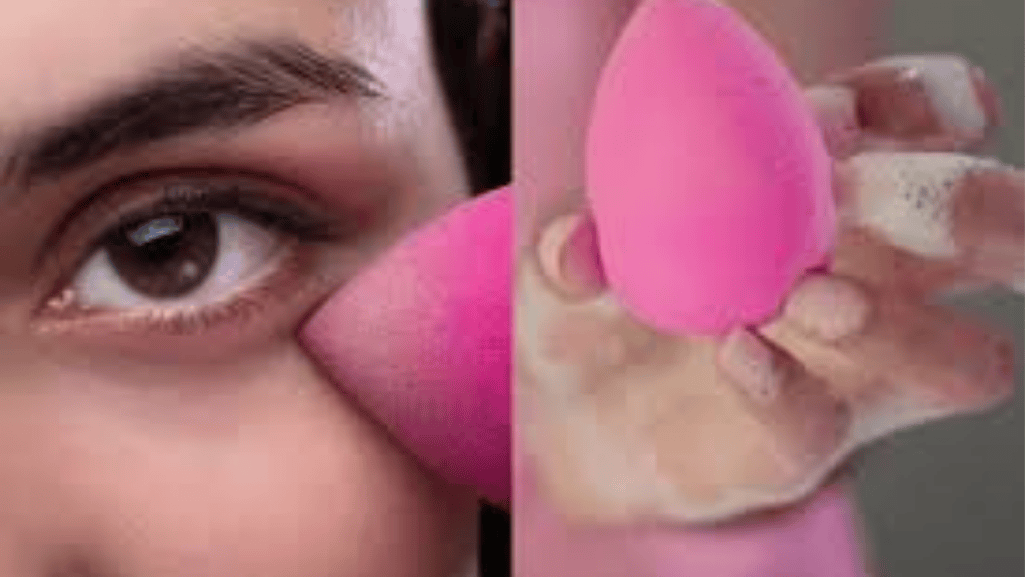
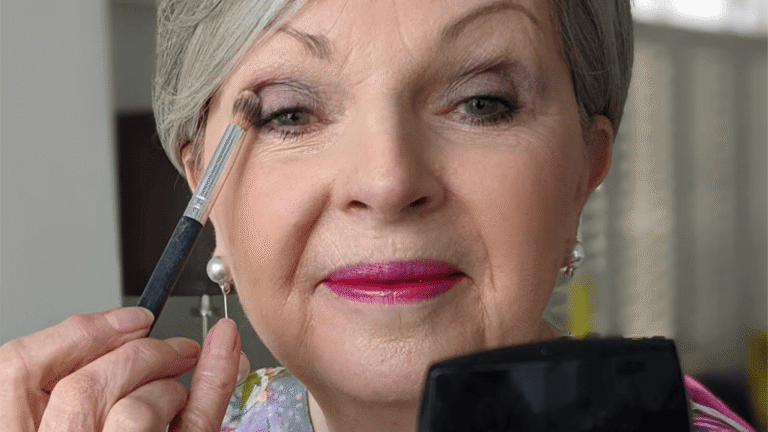
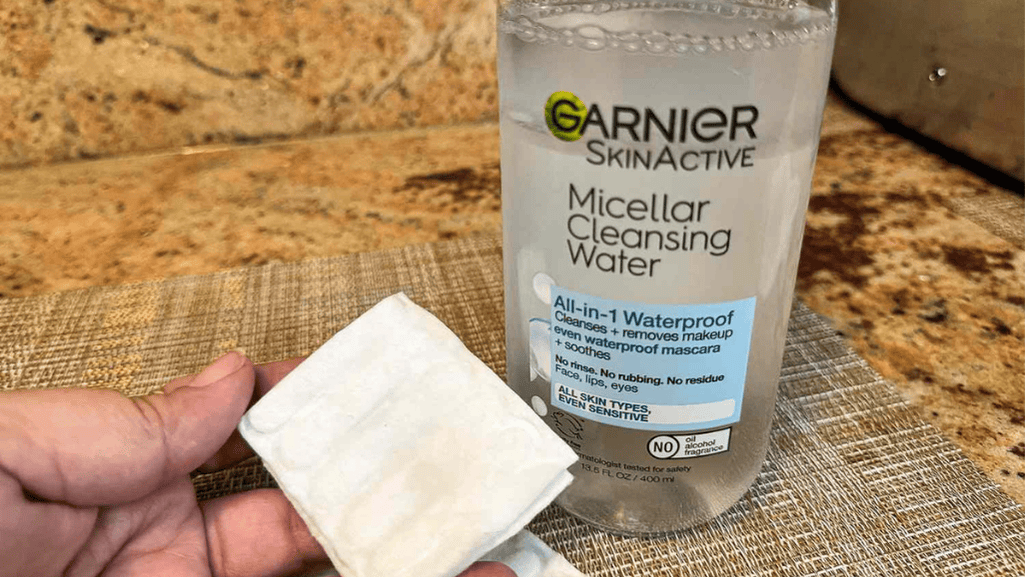
If your makeup sponge is stained with regular makeup products, using an oil-free makeup remover or an alcohol-based cleaner can do the trick. **Apply** a small amount of the remover or cleaner to the stain and gently remove it using a disposable mascara wand. Use a back-and-forth motion to lift the stain from the sponge. This method is particularly effective for removing waterproof makeup stains. For such stains, it is recommended to use an oil-free eye makeup remover.
2. Makeup Wipes or Dish Detergent
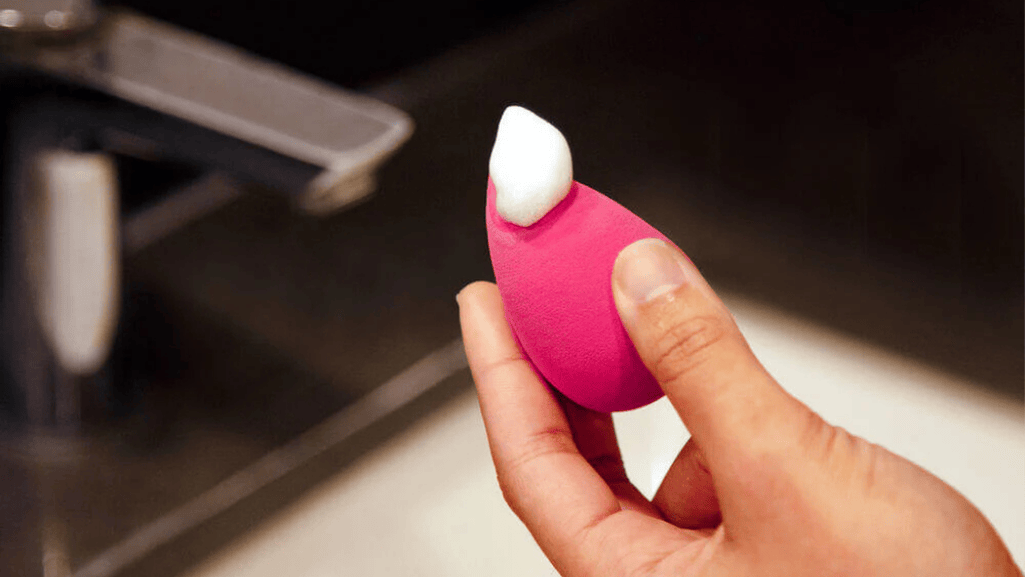
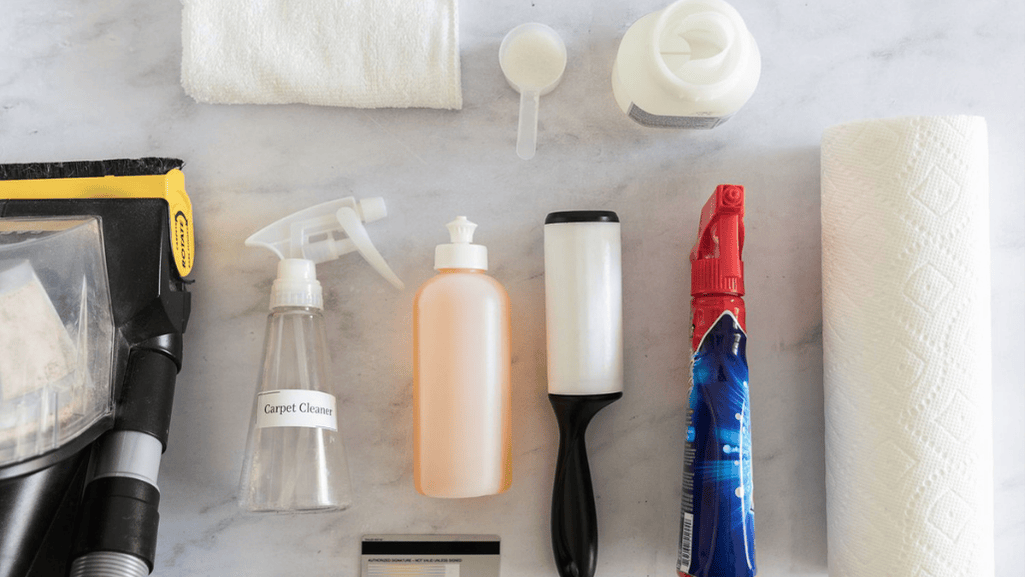
Makeup wipes or dish detergent can also be effective in removing stains from your sponge. **Simply** wet the sponge and apply makeup wipes or a small amount of dish detergent. Gently massage the foam or lather into the sponge until the stains are lifted. Rinse the sponge thoroughly to remove any residue. This method works well for general makeup buildup.
3. Rubbing Alcohol or Disinfectant Spray
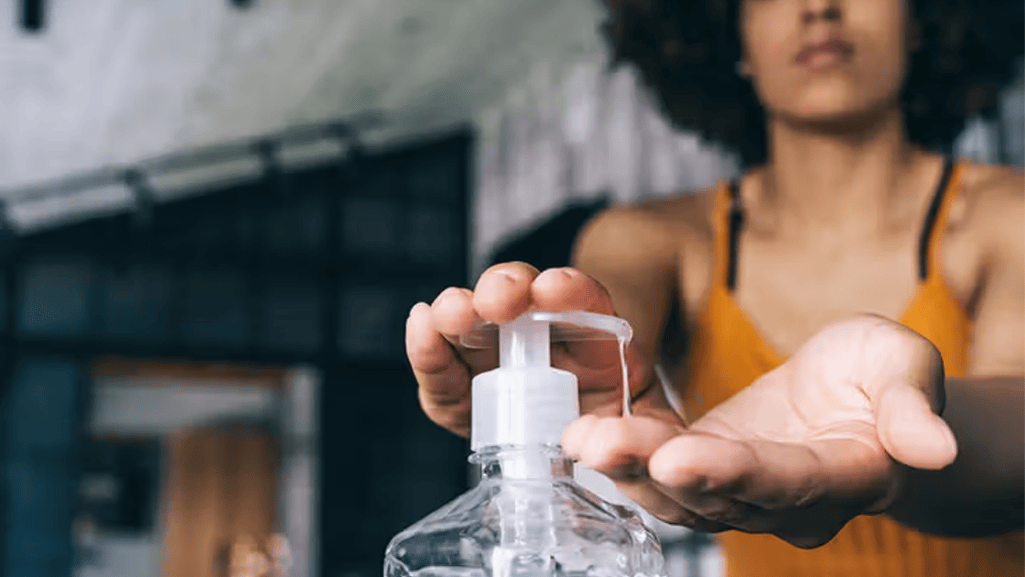
To sanitize your beauty sponge and prevent the buildup of bacteria, you can use rubbing alcohol or a disinfectant spray. **Dampen** a clean cloth or paper towel with rubbing alcohol and gently wipe the surface of the sponge, focusing on the areas that come into direct contact with your skin. Alternatively, you can spray a disinfectant spray directly onto the sponge and let it air dry. This step is crucial for maintaining the hygiene of your sponge.
Remember to regularly clean and sanitize your makeup sponges to ensure a clean and bacteria-free application. By incorporating these cleaning methods into your routine, you can prolong the life of your sponge and achieve flawless makeup results.
Pros | Cons |
---|---|
Effective in removing makeup stains | Some methods may require additional products |
Sanitizes the sponge to prevent bacterial growth | May take some time and effort |
Easy to incorporate into your makeup routine | Regular cleaning is necessary for optimal results |
Deep Cleaning Makeup Sponges
In addition to regular cleaning, deep cleaning your makeup sponges is crucial to remove stubborn stains and buildup. By following these effective methods, you can ensure optimal cleanliness and performance of your makeup sponge.
Mixing Shampoo and Warm Water
One efficient method is to mix a small amount of gentle shampoo or baby shampoo with warm water in a bowl. Submerge the sponge in the soapy water and gently squeeze and massage it to release the trapped product. Rinse the sponge thoroughly under running water until no more product or soap residue remains. This deep cleaning technique helps eliminate deep-seated stains and ensure a deep clean makeup sponge.
Using Brush Cleanser or Soap
Another popular deep cleaning method is to use a brush cleanser or a bar of soap specifically designed for makeup brushes and sponges. Dampen the sponge and rub the cleanser or soap onto it, working it into a lather. Massage the sponge gently to dislodge any stubborn stains or residue. Rinse the sponge thoroughly under running water to remove all traces of the cleanser or soap. This method helps sanitize beauty blenders and other makeup sponges, leaving them fresh and ready for use.
Deep Cleaning Frequency
To maintain the optimal cleanliness of your makeup sponge, it’s recommended to deep clean it every 1-2 weeks. This frequency helps prevent product buildup, bacteria growth, and any potential skin issues. Regular deep cleaning ensures that your makeup sponge remains in top condition, allowing for flawless makeup application.
Now that you know the importance of deep cleaning makeup sponges, it’s time to incorporate this step into your beauty routine. By following these methods and maintaining a regular cleaning schedule, you can enjoy the benefits of a clean and bacteria-free makeup application experience.
Benefits of Deep Cleaning | Method | Frequency |
---|---|---|
Removes stubborn stains and buildup | Mixing shampoo and warm water | Every 1-2 weeks |
Sanitizes beauty sponges | Using brush cleanser or soap | |
Enhances makeup application |
Drying and Storing Makeup Sponges
After cleaning your makeup sponges, it is crucial to properly dry and store them to prevent the growth of mold and bacteria. Follow these steps to ensure the longevity and cleanliness of your sponges:
- Squeeze out excess water from the sponge.
- Gently press the sponge between a clean towel to remove any remaining moisture.
- Allow the sponge to air dry in a well-ventilated area, avoiding direct sunlight or heat sources.
- Store your clean and dry makeup sponges in a clean and dry container or pouch to protect them from dust and bacteria.
- Avoid storing wet or damp sponges, as it can lead to bacterial growth.
- Regularly replace your makeup sponges every 3-6 months, depending on usage, to maintain hygiene and prevent skin irritation.
Conclusion
Properly washing and caring for your makeup sponges is essential for maintaining a clean and bacteria-free beauty routine. By following the techniques and tips provided in this guide, you can ensure the longevity of your favorite tools and achieve flawless makeup application. Regular cleaning, deep cleaning, and proper drying and storing practices are key to keeping your makeup sponges in optimal condition. Remember to replace your sponges regularly to ensure hygiene and prevent skin issues.
FAQ
How often should I clean my makeup sponges?
It is recommended to clean your makeup sponges after each use to prevent the accumulation of bacteria. However, deep cleaning should be done every 1-2 weeks to remove stubborn stains and buildup.
What can I use to clean makeup sponges?
You can use an oil-free makeup remover, alcohol-based cleaners, makeup wipes, dish detergent, gentle shampoo, baby shampoo, brush cleansers, or soap specifically designed for makeup sponges to clean your sponges effectively.
How do I deep clean my makeup sponges?
To deep clean your makeup sponges, you can mix a small amount of gentle shampoo or baby shampoo with warm water in a bowl and submerge the sponge in the soapy water. Alternatively, you can use a brush cleanser or a bar of soap designed for makeup brushes and sponges. Rub the cleanser or soap onto the damp sponge, work it into a lather, and then rinse thoroughly.
How should I dry and store my makeup sponges?
After cleaning your makeup sponges, squeeze out excess water and gently press them between a clean towel to remove remaining moisture. Allow the sponges to air dry in a well-ventilated area away from direct sunlight or heat sources. Store your clean and dry makeup sponges in a clean and dry container or pouch to protect them from dust and bacteria.
When should I replace my makeup sponges?
It is recommended to replace your makeup sponges every 3-6 months, depending on usage. Regular replacement helps maintain hygiene and prevents skin irritation.